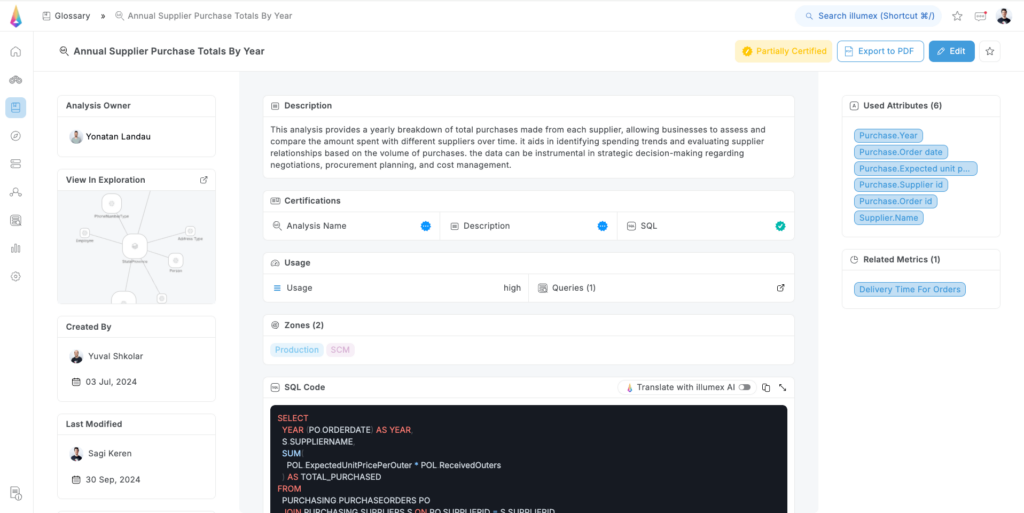
In illumex, an Analysis is a saved query that includes business context, making it searchable and reusable. This means that you can find and reuse previously existing queries rather than start from scratch. The practice of reusing queries encourages collaboration and even builds user communities within your organization.
illumex allows you to find queries that were saved and certified by other users and recommends you save frequently used ones. This saves time and effort, eliminates silos, simplifies documentation, and helps you get the most out of your data without duplicated costs.
When you save a query as an analysis, illumex automatically provides business context, like the data sources, usage patterns, associated business terms and metrics, and related analyses. You can add more business context to it, like the purpose of the query and free text definitions. This context makes finding and understanding the query easier and can also help others use it.
There are two options to save an analysis:
Save an Existing Query
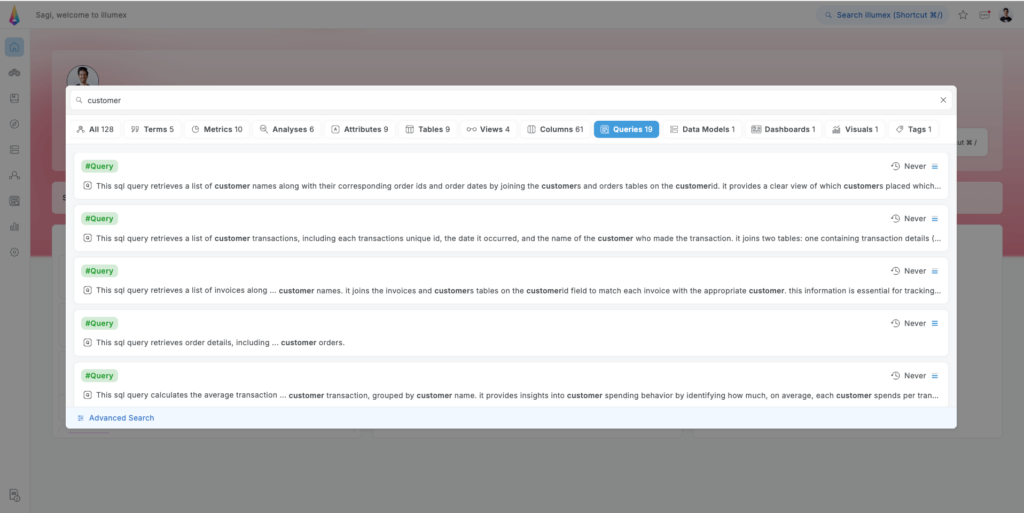
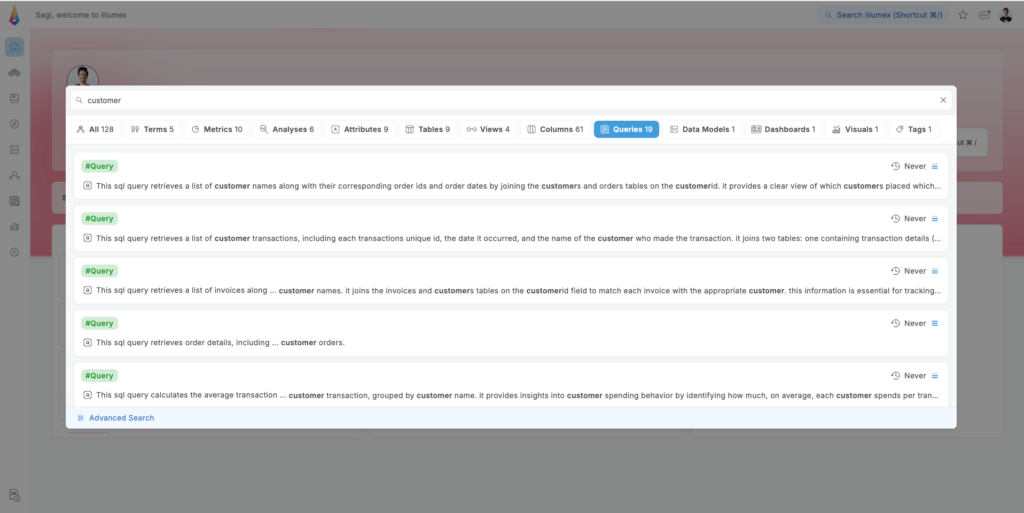
you can search for an existing query via the Global Search while searching for known keywords (to be found either in the code or in the suggested description).
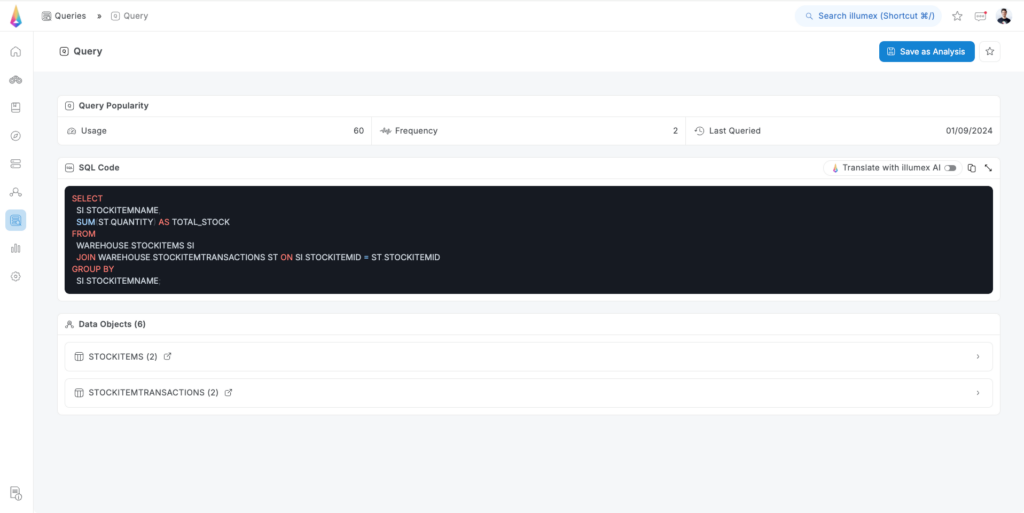
Once selected, you can click on the Save an Analysis button on the right-top corner of the screen.
Another option is to navigate to the Query Tab to locate a desired query based on its usage or last query execution date. Once found a desired query, you can click on the Save icon on
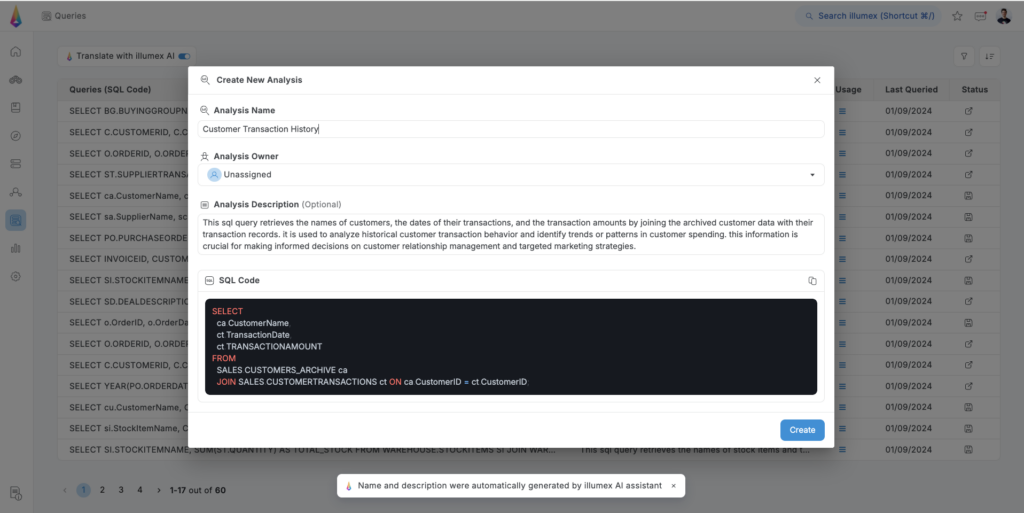
At the Create New Analysis pop-up menu, you should name the new analysis (mandatory), assign an owner (optional), and add a description.
If SQL is not your native language, the illumex AI Assistant has you covered with a concise suggested analysis name and description based on the SQL query – even for the longest query you can imagine.
Save a custom query
Go to the Active Business Glossary, click the Create button, and select Analysis.
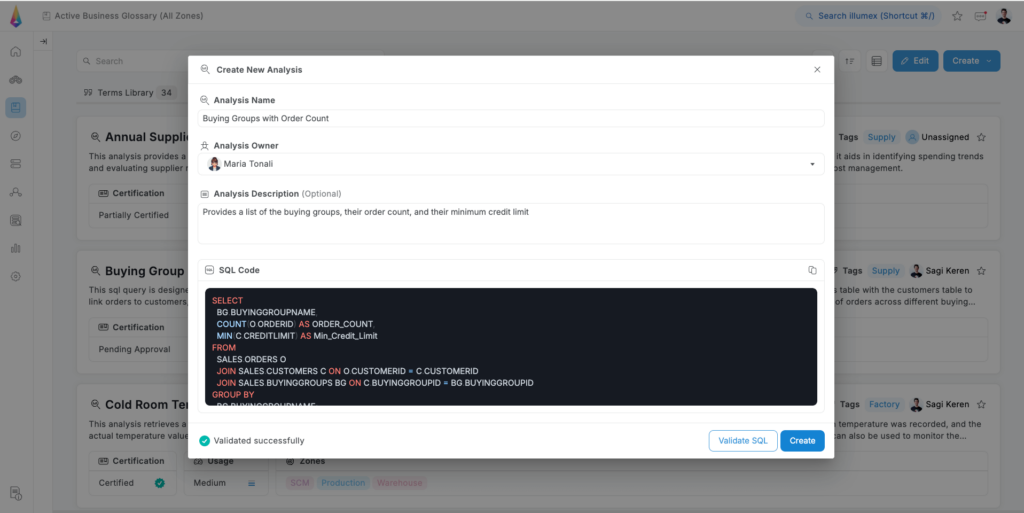
At the Create New Analysis pop-up menu, you should name the new analysis (mandatory), assign an owner (optional), add a description, and write the desired SQL query within the black text box.
After validating the SQL code, you can click on Create to complete this process.
